hardie plank cladding installation guide
Hardie Plank Cladding Installation Guide ‒ Article Plan (02/17/2026 19:59:20)
This guide details best practices for Hardie Plank installation, covering storage, handling, cutting, fixing, and painting. It emphasizes proper techniques to ensure enduring, elegant facades for both residential and commercial projects.
Hardie Plank is an advanced fibre cement solution offering enduring elegance for homes and meeting demands of commercial projects. It’s a popular choice due to its durability and aesthetic versatility, backed by rigorous installation procedures.
What is Hardie Plank?
Hardie Plank is a revolutionary fibre cement cladding manufactured by James Hardie, a company with a long history in building materials. Unlike traditional wood or vinyl siding, Hardie Plank is composed of cement, sand, and cellulose fibres; This unique composition delivers exceptional durability and resistance to common issues affecting other siding materials, such as rot, pests, and fire.
It’s engineered to mimic the classic look of wood siding, offering a variety of textures and profiles – from traditional lap siding to vertical panels. However, Hardie Plank surpasses wood in performance, requiring less maintenance and providing a longer lifespan. James Hardie offers a full suite of fibre cement solutions, including Hardie Plank for residential applications and larger-format Hardie Panel for commercial projects, showcasing its versatility.
The product’s enduring quality stems from its robust manufacturing process and the inherent properties of fibre cement, making it a trusted choice for homeowners and builders alike.
Benefits of Choosing Hardie Plank
Selecting Hardie Plank cladding offers a multitude of advantages over traditional siding options. Its inherent resistance to rot, pests, and fire provides long-term peace of mind and reduces maintenance costs. Unlike wood, Hardie Plank won’t warp, crack, or require frequent painting, saving both time and money.
Durability is a key benefit; Hardie Plank withstands harsh weather conditions, including strong winds and heavy rain, maintaining its aesthetic appeal for years. It also enhances a home’s curb appeal with its elegant facades and diverse range of styles.
Furthermore, Hardie Plank is a non-combustible material, contributing to increased home safety. James Hardie’s commitment to quality and rigorous installation procedures, detailed on hardieinstallation.com, ensure a reliable and long-lasting investment. Choosing Hardie Plank means opting for a beautiful, durable, and secure exterior solution.
Applications: Residential vs. Commercial
James Hardie provides versatile fibre cement solutions adaptable to diverse architectural needs, spanning both residential and commercial projects. Hardie Plank excels in residential applications, offering enduring and elegant facades for homes, enhancing curb appeal and providing lasting protection against the elements.
For commercial projects, large-format Hardie Panel meets the demands of modern design, offering a sleek and durable cladding solution for various building types. Its robust nature ensures longevity and minimizes maintenance requirements in high-traffic environments.

The adaptability of Hardie products allows for creative design possibilities, from traditional home styles to contemporary commercial structures. Whether it’s a cozy bungalow or a modern office building, Hardie’s advanced fibre cement solutions deliver both aesthetic appeal and superior performance, making it a preferred choice for builders and architects alike.
Pre-Installation Planning & Preparation
Thorough planning is crucial for a successful Hardie Plank installation. This involves a detailed checklist of tools, understanding local building codes, and ensuring a stable foundation.
Tools and Materials Checklist
Essential tools for Hardie Plank installation include a Hardie cutter or fiber cement shear, a circular saw with a diamond blade, a measuring tape, a level, a chalk line, a hammer, and a nail gun specifically designed for fiber cement siding.
Fasteners must be corrosion-resistant, such as stainless steel or hot-dipped galvanized nails and screws, meeting James Hardie’s specifications.
Required materials encompass Hardie Plank siding, starter strips, corner posts, J-channel, F-channel, and appropriate flashing. Don’t forget moisture barrier, house wrap, and sealant for joints.
Safety gear is paramount: always wear safety glasses, dust masks (HSE approved respirators during cutting), gloves, and appropriate work boots. Having a water source nearby for dust control is also highly recommended.
Understanding Building Codes and Regulations
Prior to commencing any Hardie Plank installation, thorough research into local building codes and regulations is crucial. These codes dictate requirements for siding materials, fire resistance, wind load capacity, and proper fastening techniques.
Permitting may be necessary, depending on the scope of the project and local ordinances. Ensure compliance with all applicable regulations to avoid potential fines or rework.
Specific attention should be paid to ventilation requirements to prevent moisture buildup behind the siding. Codes often specify minimum air gaps and the need for appropriate flashing around windows and doors.
Consult with local building officials to clarify any uncertainties and ensure your installation adheres to the latest standards. James Hardie provides resources, but ultimate responsibility for code compliance rests with the installer.
Site Preparation: Ensuring a Solid Foundation
Proper site preparation is paramount for a successful and durable Hardie Plank installation. Begin by verifying the structural integrity of the wall sheathing; it must be sound and securely fastened to the framing.
Address any existing damage, such as rot or water stains, before proceeding. Repair or replace compromised sheathing to provide a stable substrate for the siding.
Ensure the wall surface is clean, dry, and free of debris like nails, screws, or loose materials. A smooth surface promotes proper adhesion and prevents unsightly bumps or gaps in the finished installation.
Verify the wall is plumb and level. Minor imperfections can be addressed during installation, but significant deviations may require corrective measures. A solid foundation ensures a professional and long-lasting result.

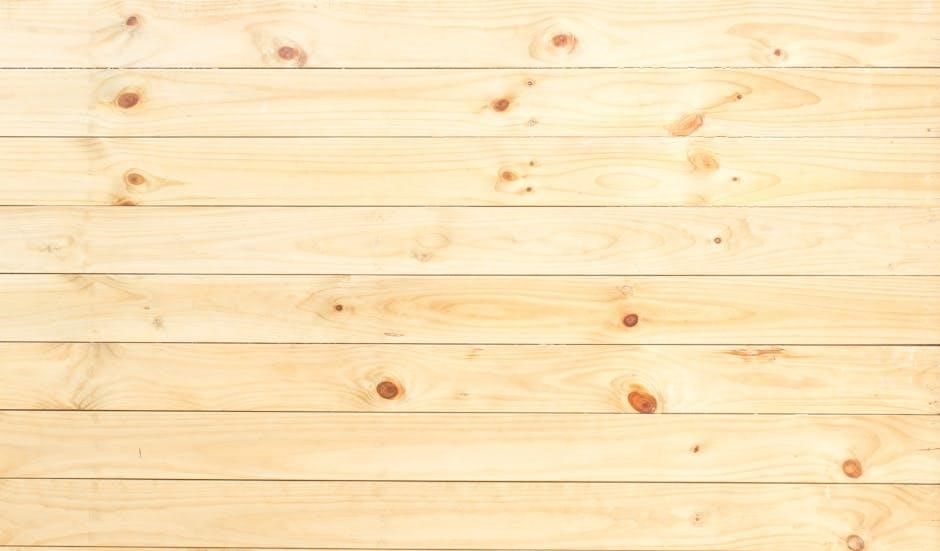
Hardie Plank Storage and Handling
Store Hardie Plank flat, dry, and covered to prevent damage. Carry planks on edge, protecting corners from breakage. James Hardie isn’t liable for improper handling.
Proper Storage Techniques (Flat, Dry, Covered)
Maintaining proper storage conditions is crucial for Hardie Plank cladding to prevent warping, damage, and ensure successful installation. Always store the planks in a location that is completely dry and protected from the elements. Utilize waterproof coverings – tarpaulins or similar materials – to shield the material from rain, snow, and excessive moisture.
Crucially, store the planks flat. Stacking them improperly can lead to bending or breakage. Ensure the storage area provides a level surface to distribute weight evenly. Avoid leaning planks against walls or other structures, as this can cause deformation. Prior to installation, a thorough inspection of stored planks is recommended to identify any potential issues arising from improper storage. Remember, installing wet or saturated siding can result in shrinkage at the butt joints, compromising the integrity of the finished facade.
Safe Handling Practices (Carrying on Edge, Protecting Corners)
Proper handling minimizes the risk of damage during Hardie Plank cladding installation. Always carry planks on edge, rather than flat, to prevent bending and potential breakage. This method distributes the weight more effectively and provides better support. Be mindful of the edges and corners, as these are the most vulnerable points.
Protect edges and corners from impact by avoiding dropping or dragging the planks across rough surfaces. Consider using protective corner guards during transport and on the job site. Careful handling not only preserves the integrity of the material but also enhances worker safety. James Hardie explicitly states they are not responsible for damage resulting from improper storage and handling, emphasizing the importance of adhering to these guidelines. Prioritizing careful handling ensures a professional finish and avoids costly replacements.
James Hardie’s Responsibility & Damage Disclaimer
James Hardie provides comprehensive installation guidance and support through resources like hardieinstallation.com, geared towards building professionals. However, the company maintains a clear stance regarding responsibility for product damage. James Hardie accepts no responsibility for damage incurred due to improper storage and handling of Hardie Plank cladding.
This disclaimer underscores the critical importance of adhering to the recommended storage (flat, dry, covered) and handling (carrying on edge, protecting corners) practices. While James Hardie has a history of addressing concerns related to past products – including compensation for asbestos-related illnesses dating back to the 1980s – this does not extend to damage caused by negligence during installation. Proper procedures are the installer’s responsibility, ensuring a successful and long-lasting cladding application. Ignoring these guidelines voids potential claims for material defects related to handling.
Cutting Hardie Plank Cladding
Employ recommended cutting tools and always prioritize dust control with HSE-approved respirators. Precise techniques are vital for achieving both straight and angled cuts efficiently and safely.
Recommended Cutting Tools
Selecting the appropriate cutting tools is crucial for efficient and clean Hardie Plank cladding installation. While various options exist, achieving optimal results requires careful consideration. Fiber cement siding necessitates tools capable of handling its unique composition.
A carbide-tipped circular saw blade specifically designed for fiber cement is highly recommended. These blades minimize chipping and dust creation. Alternatively, a fiber cement shear can provide exceptionally clean cuts, particularly for straight lines. Scoring tools are also useful for initial cuts, guiding the saw or shear.
Avoid using standard wood-cutting blades, as they will quickly dull and produce unsatisfactory results. Furthermore, utilizing a dust collection system in conjunction with your cutting tool is strongly advised to mitigate airborne particles and maintain a safe working environment. Remember to always prioritize safety and wear appropriate personal protective equipment.
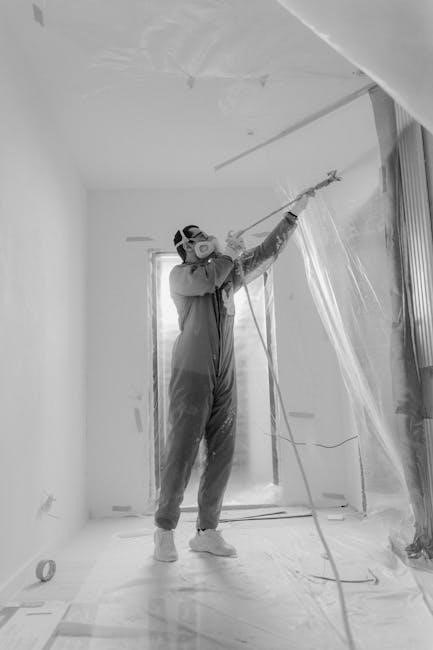
Dust Control Measures & Respirator Use (HSE Approved)
Cutting Hardie Plank generates silica dust, a health hazard requiring stringent control measures. Prioritizing worker safety is paramount during installation. Implementing effective dust control is not merely recommended, but essential for compliance with health and safety regulations.
Utilize dust collection systems connected to cutting tools to capture airborne particles at the source. Wet cutting methods can also significantly reduce dust, but ensure the material isn’t saturated before installation. Regularly clean work areas with a HEPA-filtered vacuum, avoiding dry sweeping which disperses dust.
Crucially, always wear an HSE-approved respirator during cutting and handling. This respirator must be properly fitted and maintained. If exposure concerns persist, consult a qualified industrial hygienist or contact James Hardie for guidance. Adherence to these practices minimizes health risks and ensures a safe working environment.
Cutting Techniques for Straight and Angled Cuts
Achieving clean, precise cuts is vital for a professional Hardie Plank installation. For straight cuts, utilize a circular saw with a fiber cement blade, or a dedicated shear. Ensure the plank is securely supported to prevent splintering or breakage during the cutting process.
When making angled cuts, carefully measure and mark the desired angle. Employ a protractor or adjustable square for accuracy. A miter saw with a fiber cement blade is ideal for precise angled cuts. Slow, controlled cuts are essential to minimize chipping and maintain a clean edge.
Remember to always score the surface before cutting to prevent cracking. Practice on scrap pieces to refine your technique. Proper cutting not only enhances aesthetics but also ensures a tight, weather-resistant fit. Prioritize safety and wear appropriate protective gear.
Hardie Plank Installation Process
Proper installation demands dry materials, correct nailing specifications, and crucial ventilation gaps. Avoiding wet installation prevents shrinkage at joints, ensuring a durable and aesthetically pleasing result.
Moisture Content & Avoiding Wet Installation
Maintaining appropriate moisture levels is paramount during Hardie Plank installation. James Hardie explicitly warns against installing wet or saturated products, as this significantly compromises the integrity of the cladding system. Wet installation leads to shrinkage, particularly noticeable at the butt joints between planks, creating gaps and potentially allowing moisture ingress.
Prior to installation, ensure the Hardie Plank has been stored correctly – flat, dry, and covered – to prevent moisture absorption. Inspect each plank for any signs of dampness before fixing it to the structure. If exposure to rain or other moisture sources occurs, allow sufficient time for the planks to thoroughly dry before proceeding.
This drying period is crucial; simply wiping the surface isn’t enough. Internal moisture can still cause issues. Ignoring this precaution voids potential warranties and results in a compromised, visually unappealing finish. Prioritize dryness for a long-lasting, high-quality installation.
Nailing and Fastener Specifications
Proper fastening is critical for a secure and durable Hardie Plank installation. James Hardie specifies precise nailing and fastener requirements to ensure optimal performance and maintain warranty validity. Using incorrect fasteners can lead to issues like plank deformation, loosening, or even failure.
Generally, corrosion-resistant fasteners are essential, particularly in coastal or high-humidity environments. Specific fastener lengths and types are dictated by the substrate material (wood or steel framing) and the thickness of the Hardie Plank being installed. Always refer to the official James Hardie installation guide for the most up-to-date specifications.
Correct nail spacing is also vital, typically specified as a certain distance from plank edges and along the length of each plank. Ensure fasteners are driven flush with the plank surface without overdriving, which can damage the material. Following these guidelines guarantees a robust and long-lasting cladding system.
Ventilation Gap Requirements
Maintaining a proper ventilation gap behind Hardie Plank cladding is paramount to prevent moisture buildup and potential damage. This gap allows for airflow, facilitating the drying of any water that may penetrate the cladding system, thus mitigating risks like rot, mold, and premature material degradation.
James Hardie’s specifications typically require a minimum continuous ventilation gap of at least 1 inch (25mm) between the back of the Hardie Plank and the wall sheathing. This gap should extend the full height of the wall. Properly installed furring strips or a ventilated rainscreen system can effectively create and maintain this crucial airspace.
Failure to provide adequate ventilation can void the product warranty and compromise the long-term performance of the cladding. Pay close attention to details around windows, doors, and other penetrations to ensure continuous airflow throughout the entire wall assembly.
Finishing Touches & Best Practices
Achieving a flawless finish involves careful painting, joint treatment, and sealing. Addressing potential issues promptly ensures longevity and maintains Hardie Plank’s aesthetic appeal and structural integrity.
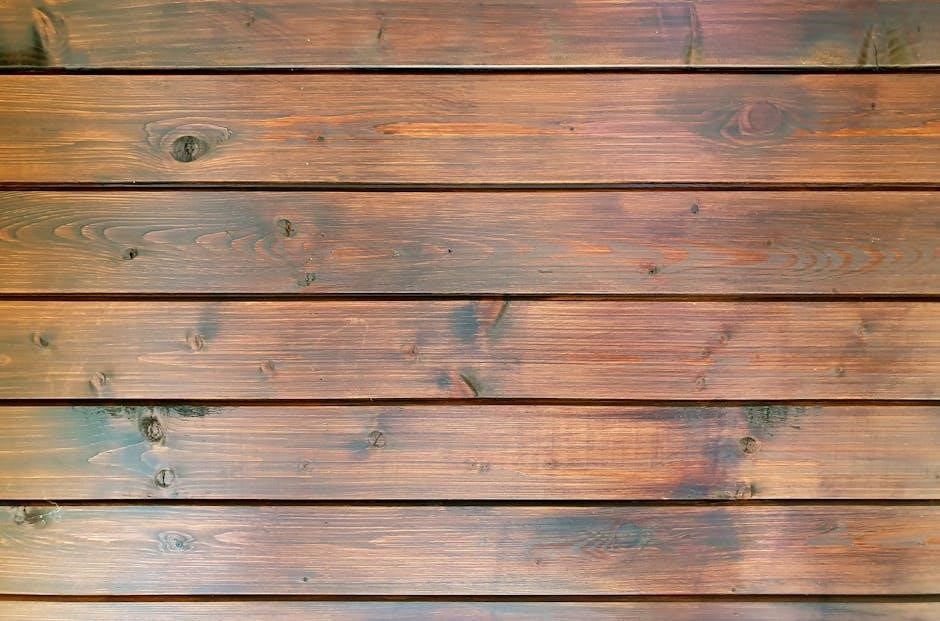
Painting and Coating Recommendations
Proper painting and coating are crucial for Hardie Plank’s long-term performance and aesthetic appeal. Always use 100% acrylic latex paints specifically formulated for fibre cement siding. These paints offer excellent adhesion, flexibility, and resistance to cracking and fading. Priming is essential, utilizing a high-quality primer designed for fibre cement.
Two coats are generally recommended for optimal coverage and durability, following the paint manufacturer’s instructions regarding drying times and application methods. Darker colors may require a third coat. Avoid using oil-based paints, as they can hinder moisture release and compromise the siding’s integrity.
Consider the climate when selecting a coating. In humid environments, mildew-resistant coatings are beneficial. Regularly inspect the paint for signs of wear and touch up as needed to maintain protection and appearance. Always refer to James Hardie’s finishing guidelines for specific product recommendations and application details.
Joint Treatment and Sealing
Proper joint treatment is vital to prevent moisture intrusion and maintain the integrity of the Hardie Plank cladding system. All end joints and butt joints require careful sealing with a high-quality, paintable acrylic latex caulk specifically designed for exterior use and fibre cement. Ensure the surfaces are clean, dry, and free of debris before applying the caulk.
Apply a generous bead of caulk, ensuring complete coverage of the joint. Smooth the caulk with a wet finger or a caulking tool for a neat, professional finish. Pay close attention to gaps around windows, doors, and other penetrations. Avoid using silicone-based caulk, as it can interfere with paint adhesion.
Regularly inspect the sealant for cracks or deterioration and re-apply as needed. Correct joint treatment, combined with appropriate painting, will significantly extend the lifespan and performance of your Hardie Plank installation, safeguarding against water damage and maintaining aesthetic appeal.
Addressing Potential Issues & Troubleshooting
Shrinkage at butt joints can occur if Hardie Plank is installed while wet or saturated. Prevention is key – always ensure planks are dry before installation. If minor shrinkage appears, carefully re-caulk the affected joints with a suitable acrylic latex caulk.
Incorrect nailing can lead to oil canning or bowing. Verify fastener spacing and depth adhere to James Hardie’s specifications. If issues arise, carefully remove and re-install the affected planks with correct fasteners. Dust exposure during cutting is a concern; always use an HSE-approved respirator.
Damage during handling is the installer’s responsibility. Protect edges and corners during transport and installation. For significant issues, consult a qualified industrial hygienist or contact James Hardie directly for guidance. Remember, James Hardie isn’t liable for damage due to improper handling.